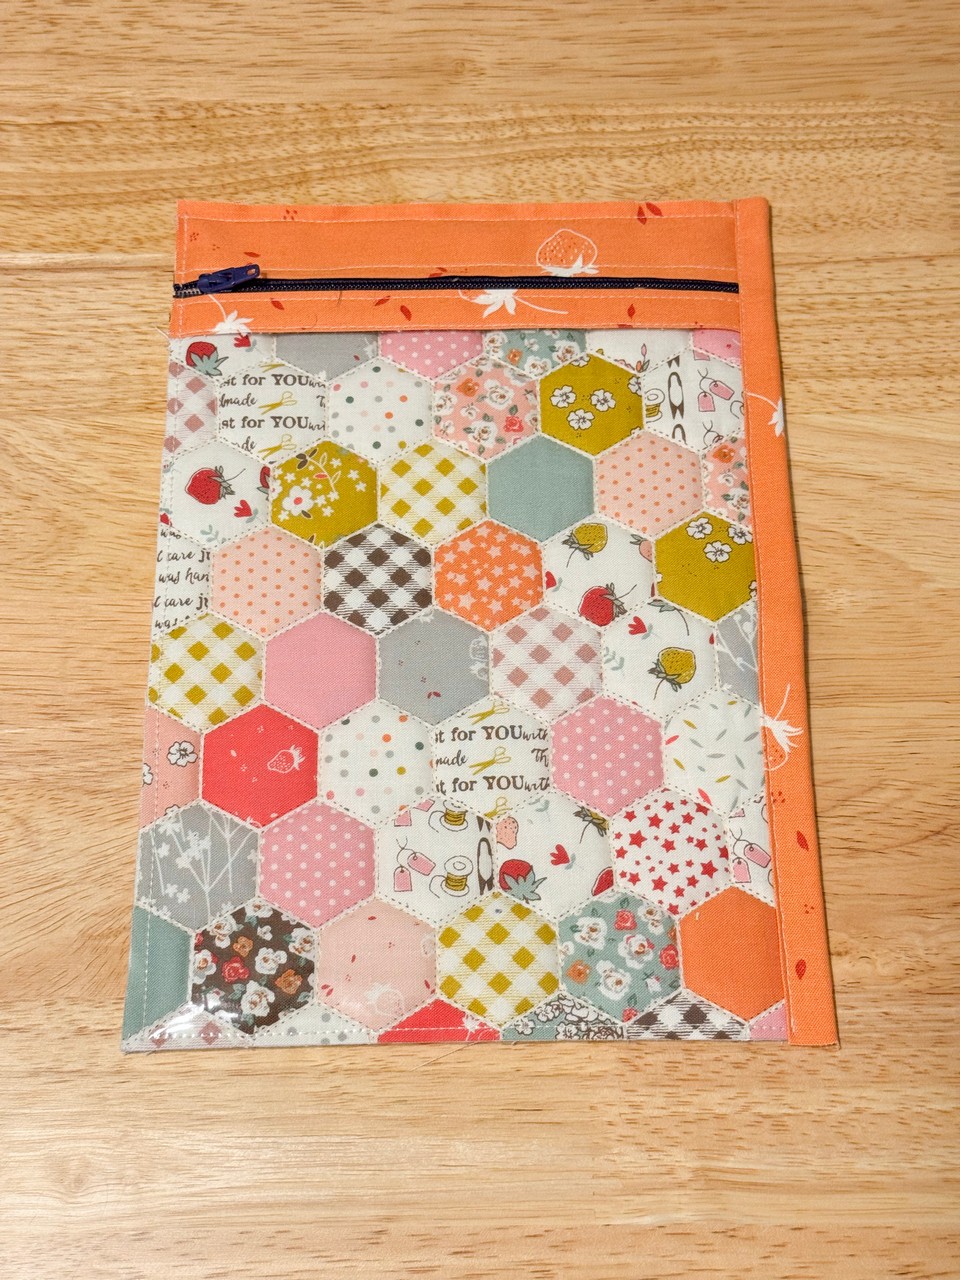
During the week of November 18th, Center Street Quilts was doing a sew along for the Atlas Zipper Case that Kristina created. I decided to participate in the sew along as I think the case is adorable. I wanted to make one for myself first and then decide if I want to make them for my grandchildren as I think they would love this case as well. The sew along was only for 5 days, which made it even more inviting, as I knew I could stay on top of the daily sewing and finish in that time frame. In addition to the instructions being on the website, Kristina also provided videos on her Instagram that showed how each step was done. Please click on the link above to go to Center Street Quilts for the pattern.
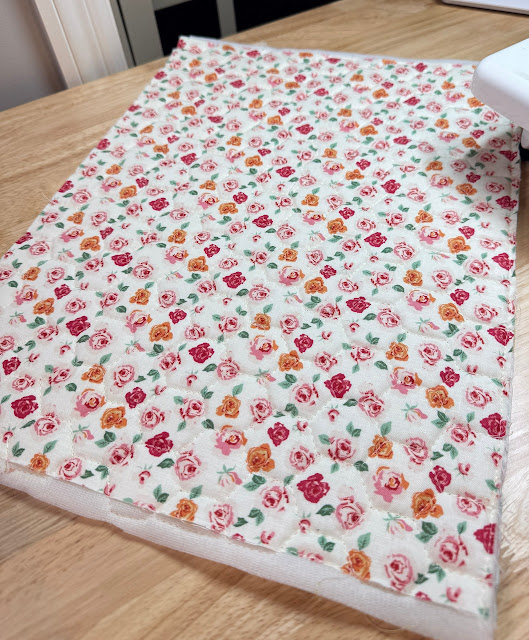
On the first day I quilted my main and accent fabrics to the lining using my Juki TL2010Q sewing machine. I chose to use fabrics from the Bloomberry line designed by Minki Kim.
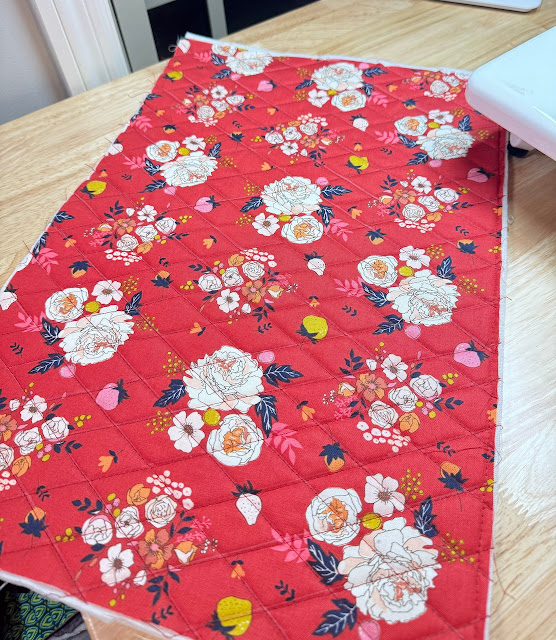 |
| Main Fabric |
 |
| Lining for main fabric |
 |
| Accent fabric |
 |
| Lining for accent fabric |
Once you finish quilting the main and accent fabrics, you had to cut the pieces down to the size stated in the pattern. Here is what mine looked like at this point.
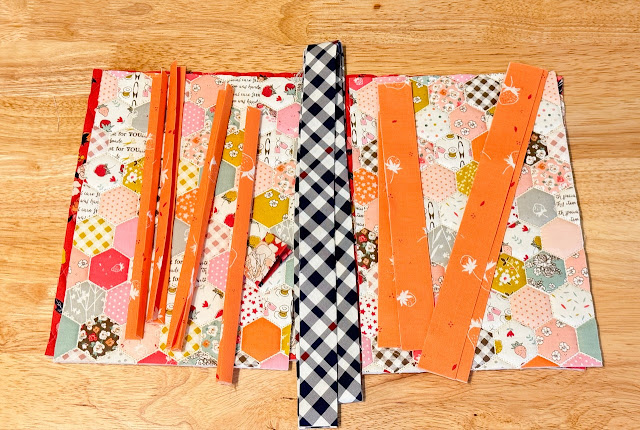 |
| all my pieces including the bindings |
On day 2, I was to sew the binding pieces to the fabrics and vinyl for the left side. It was easier to do than I expected. One tip was to add paper where you were using vinyl to avoid the vinyl not wanting to flow through the needle area. I did that on part of it which my pictures show below, but then I done some sewing with the vinyl without using the paper and luckily had no issues.
 |
| after the binding and zipper is added |
 |
| all the pieces left to sew together |
Day 3 was time for the right side to be completed, which again included adding binding to vinyl and fabrics plus adding zippers where needed.
 |
| zippers and binding added |
At this point I had both sides done and in the below photo they are just laying there to be sewn on, which is shown in the second photo below. After they are sewn to the main portion of the case you have to round your corners before adding the zipper and binding.
 |
time to sew together
|
 |
| need to round those corners |
The zipper is added and then the binding. Tip - on corners take your time. Slow and steady wins the race.


.jpg)


